Managing Users and Roles
Prowler SaaS supports multiple users on a single account, which enables sharing the insights you get from Prowler SaaS with your peers.
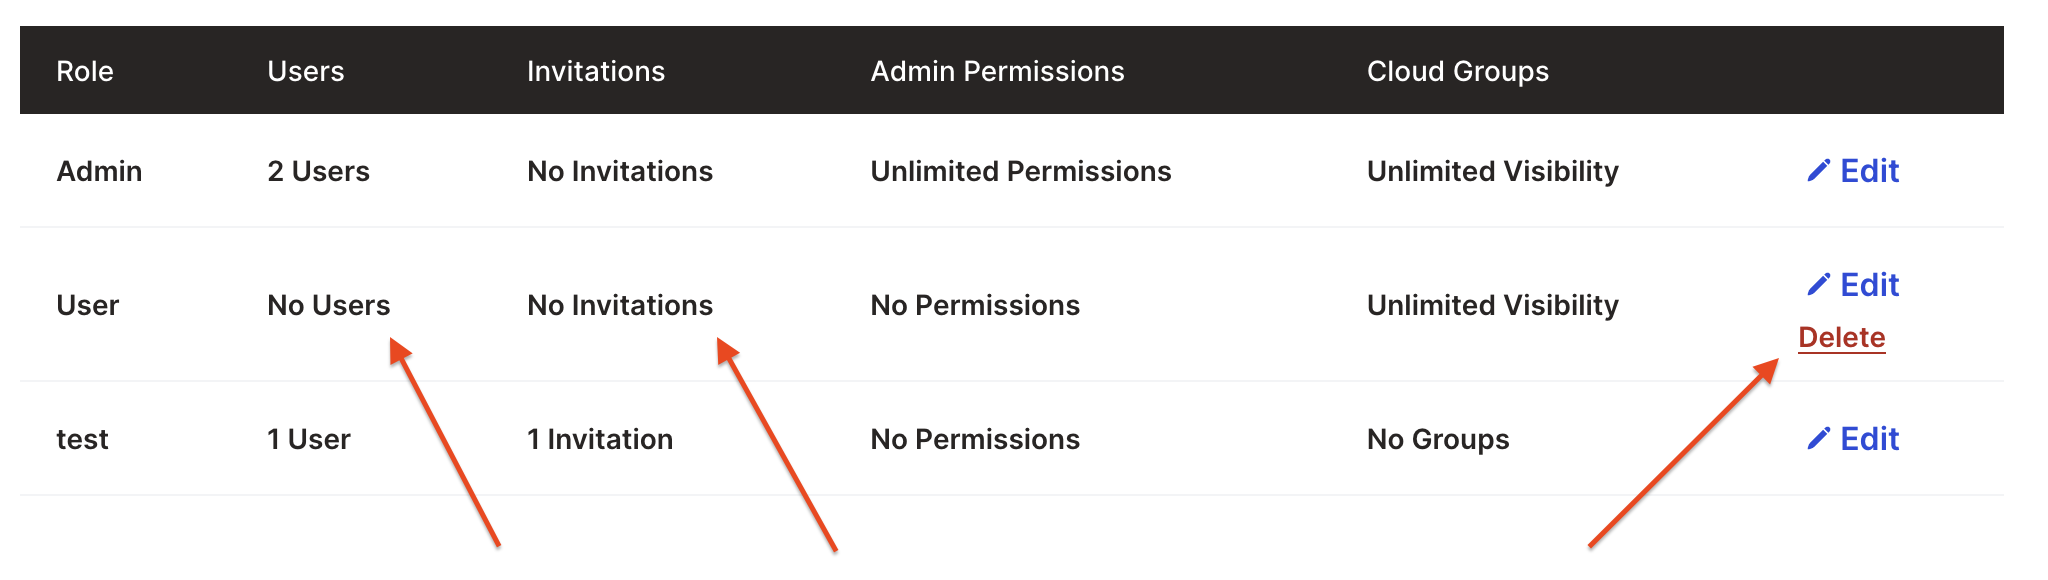
You can use Roles to limit what a user can see or do in Prowler SaaS. By default 2 roles are created for your account: Admin and User.
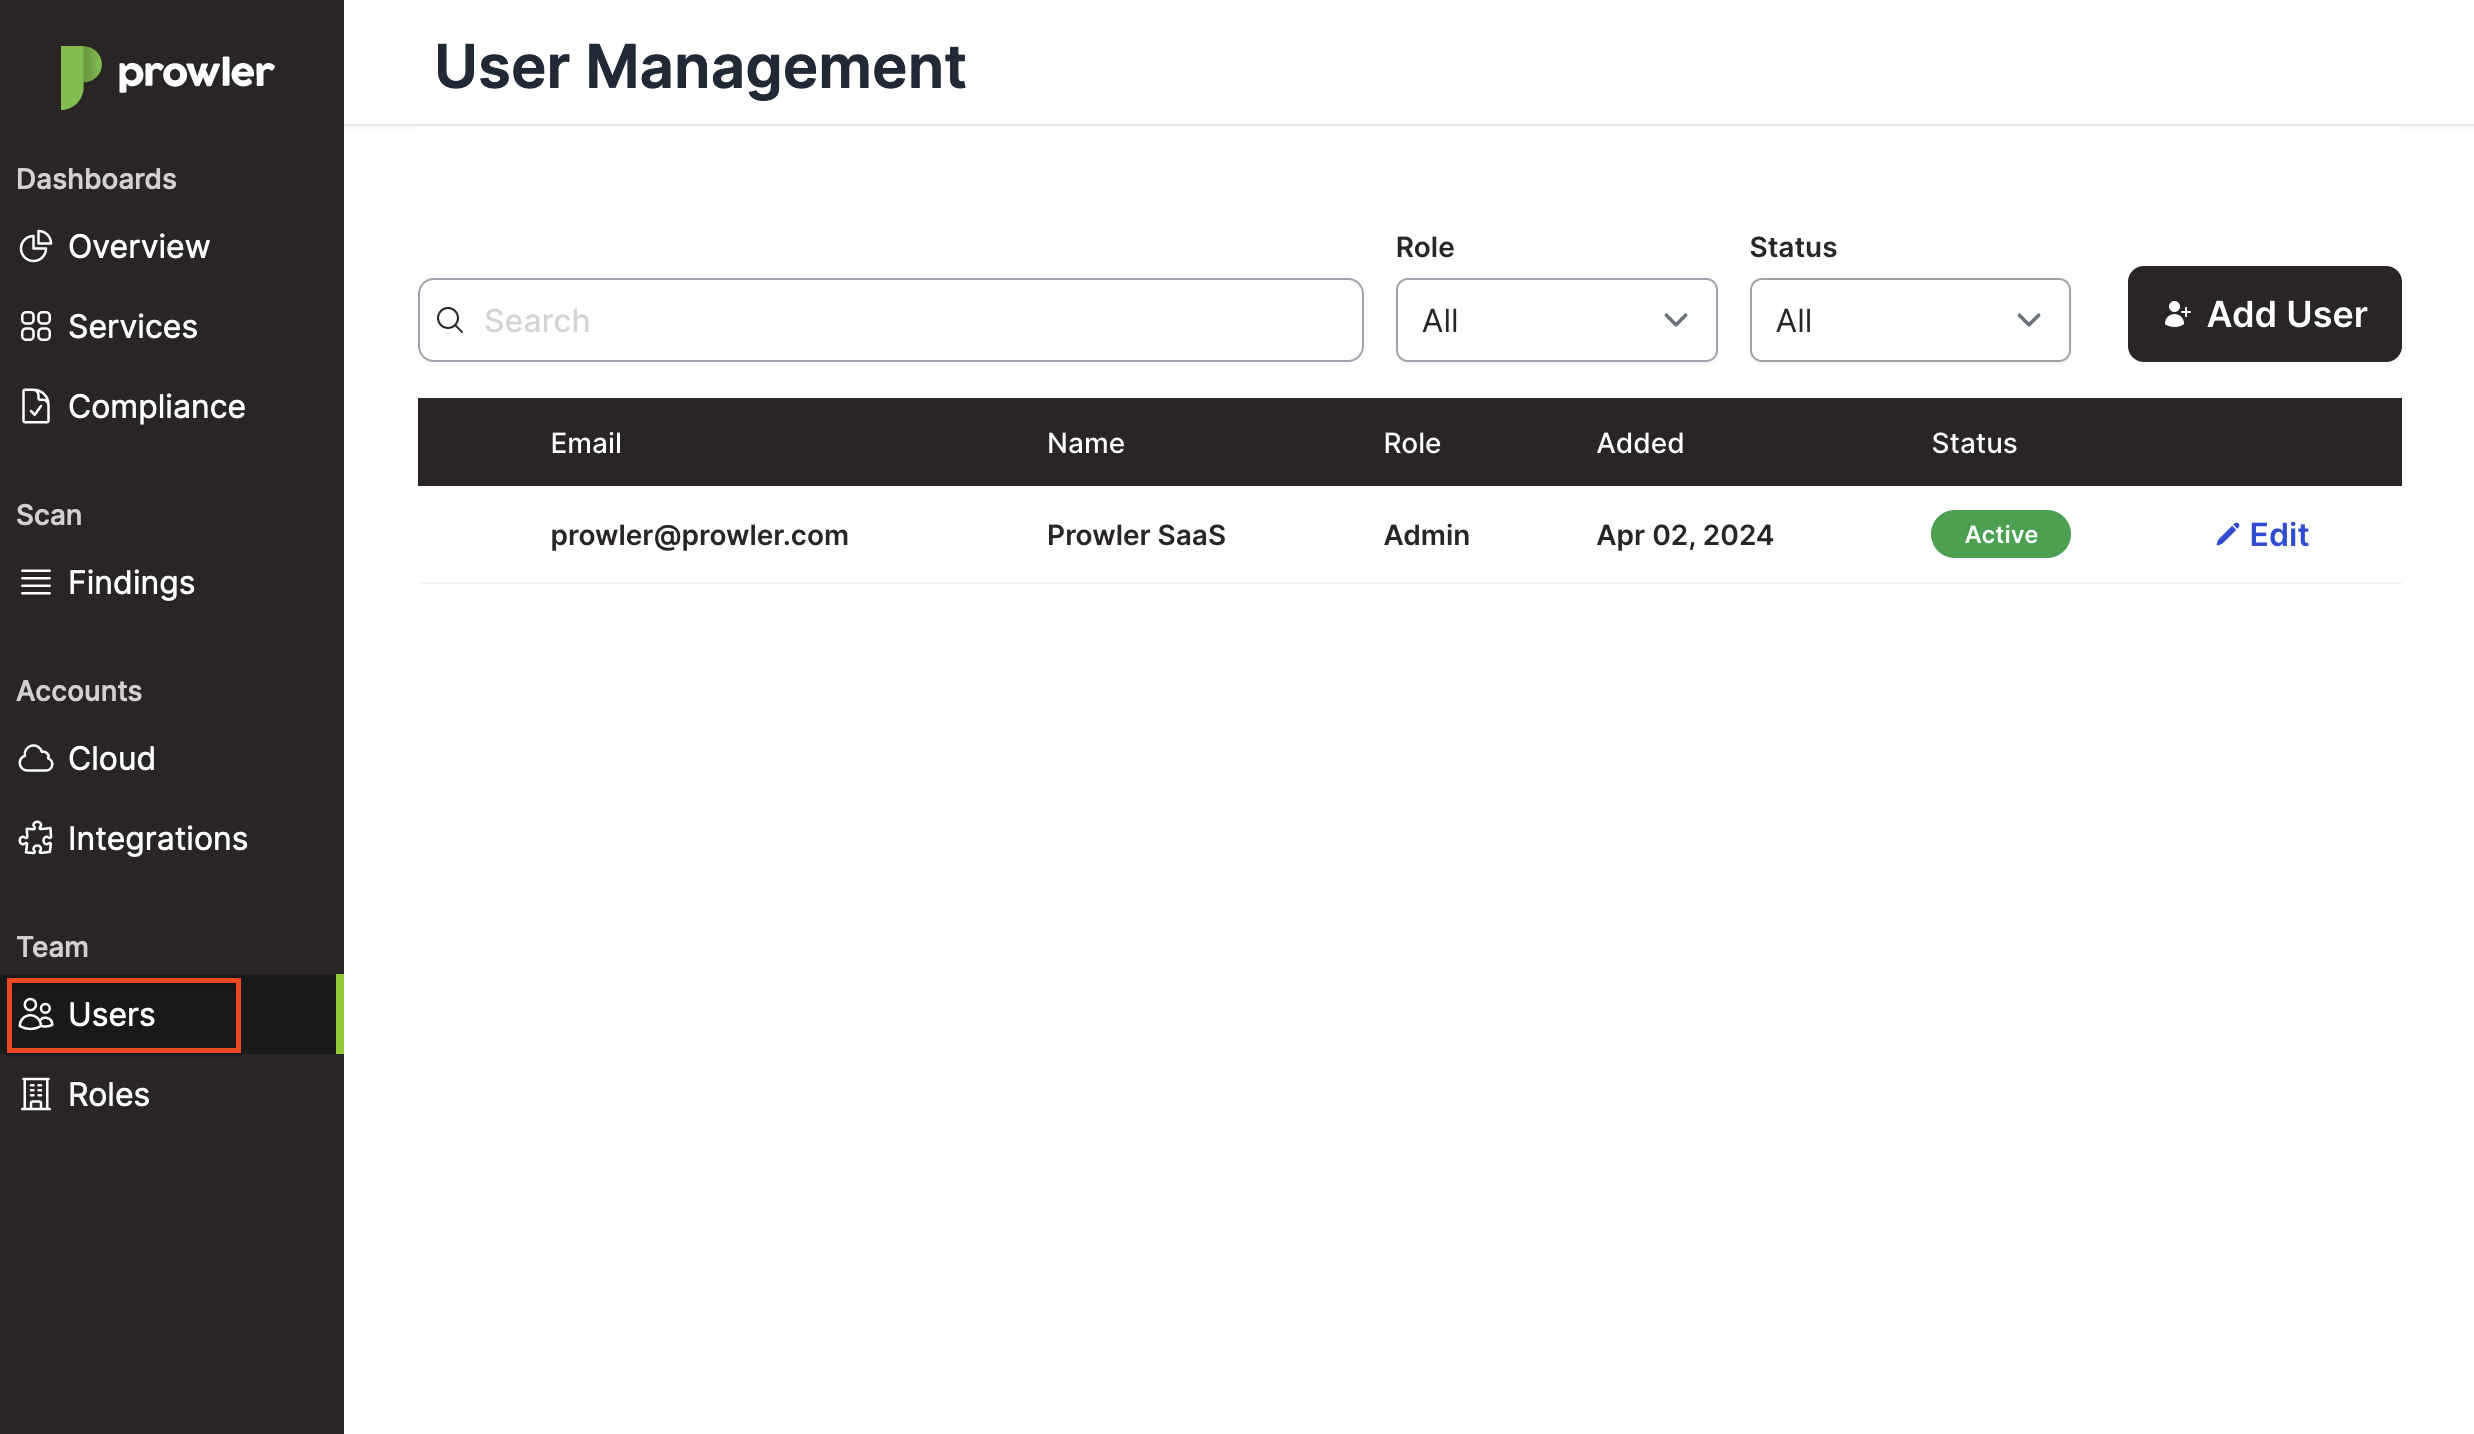
Users
Only users that have the Invite and Manage Users or Admin permission can access this page.
To get to User Management, go to https://app.prowler.pro/app/users or click the Users menu:
Inviting Users
Follow these steps to invite a user to Prowler SaaS:
Note
Please be aware that at this time, an email address can only be associated with a single Prowler SaaS account.
-
Log into Prowler SaaS with your credentials.
-
Click on the Users item in the side menu.
-
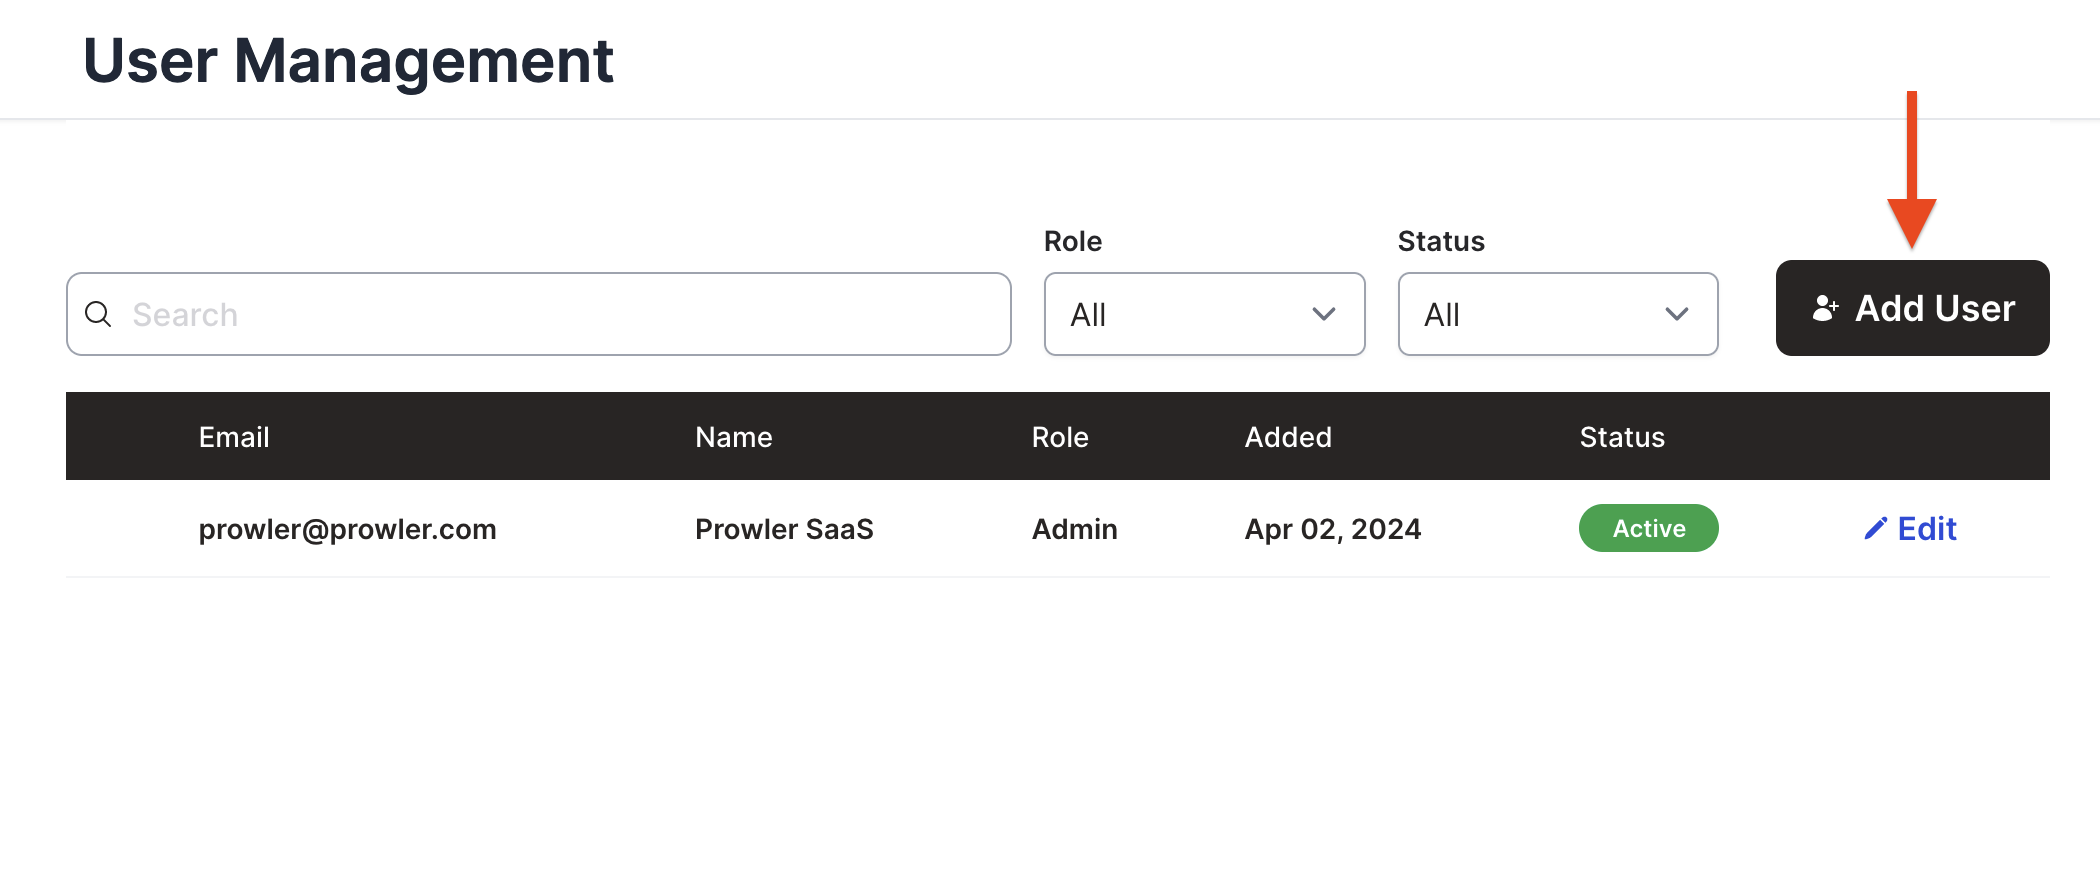
Click on the Add User button on the top left-hand corner of the screen.
-
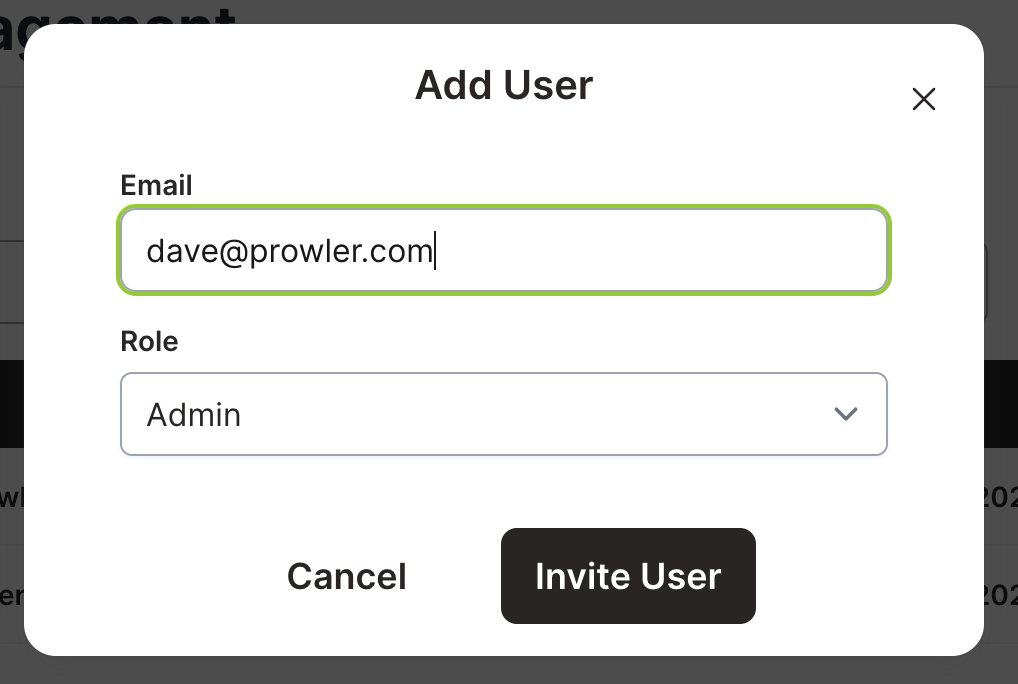
In the Add User screen, enter the email address of the user you want to invite.
-
Pick a Role for the user. You can also change the roles for users and pending invites later. To learn more about the roles and what they can do, see Roles.
-
Click on the Invite user button to send the invitation to the user.
-
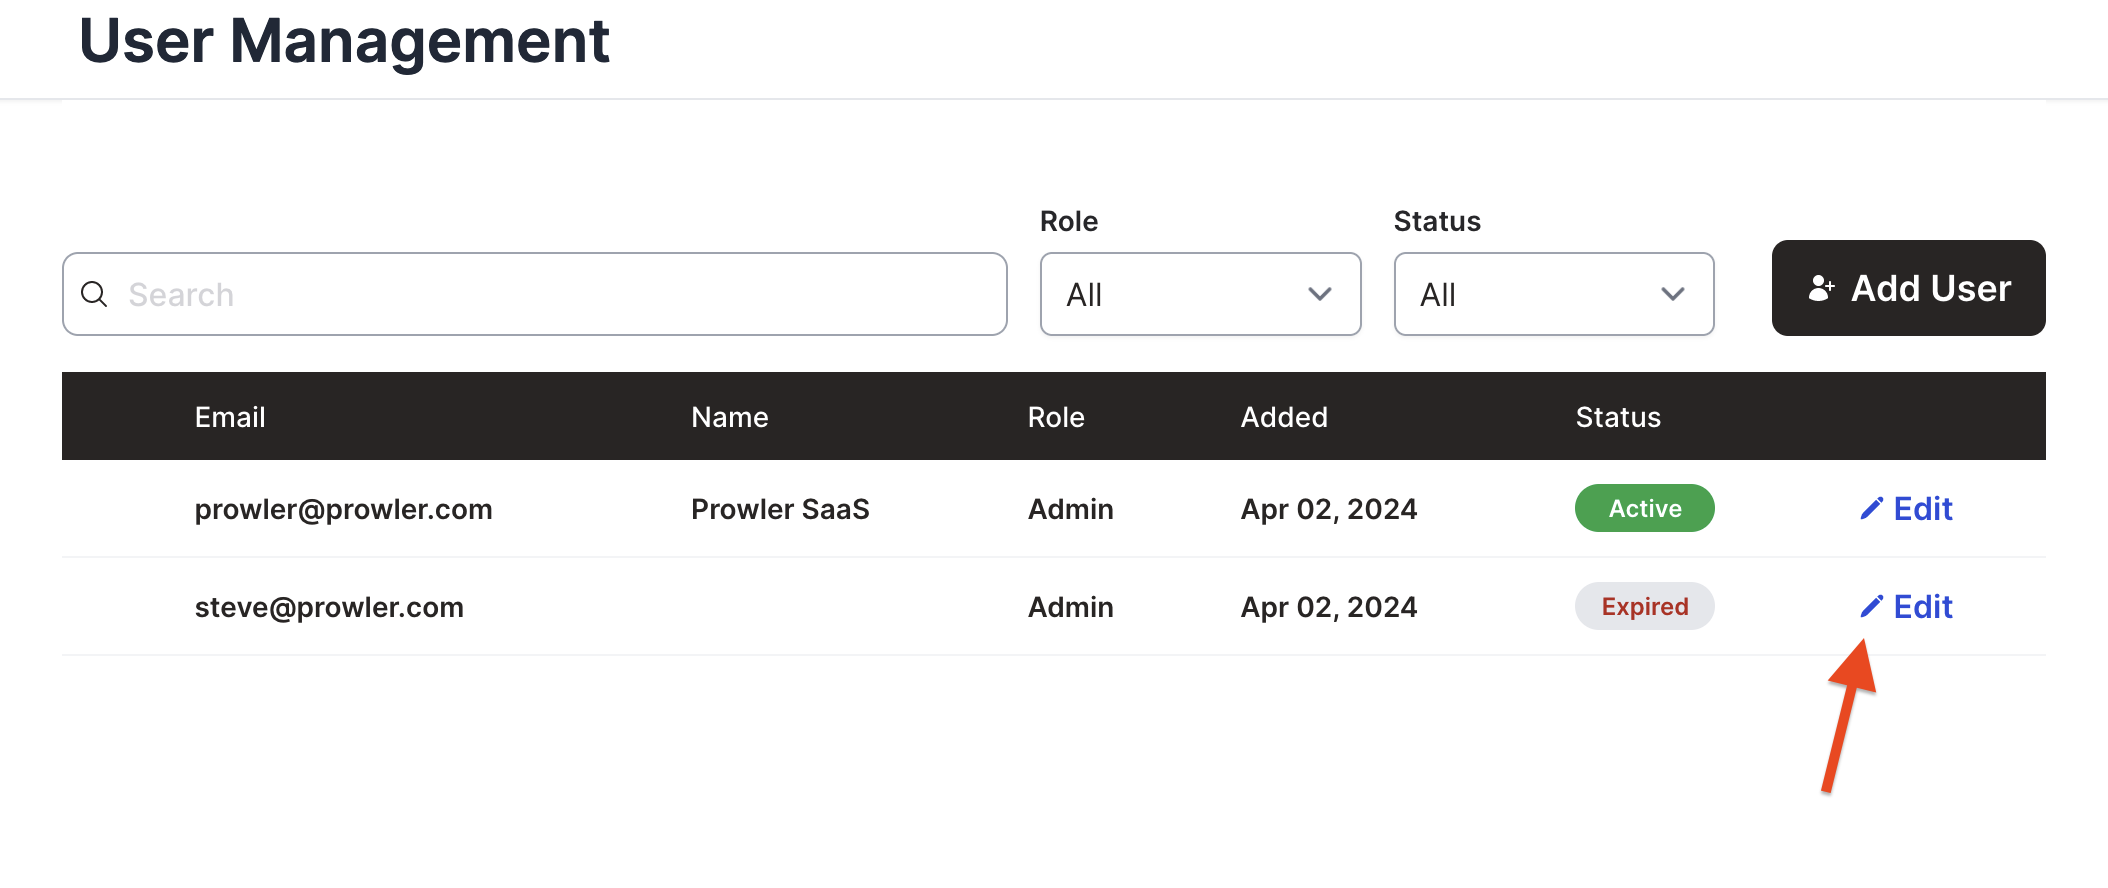
The user will receive an email inviting them to join Prowler SaaS. They will need to click on the link in the email and follow the instructions to complete their registration. Note: Invitations will expire after 7 days.
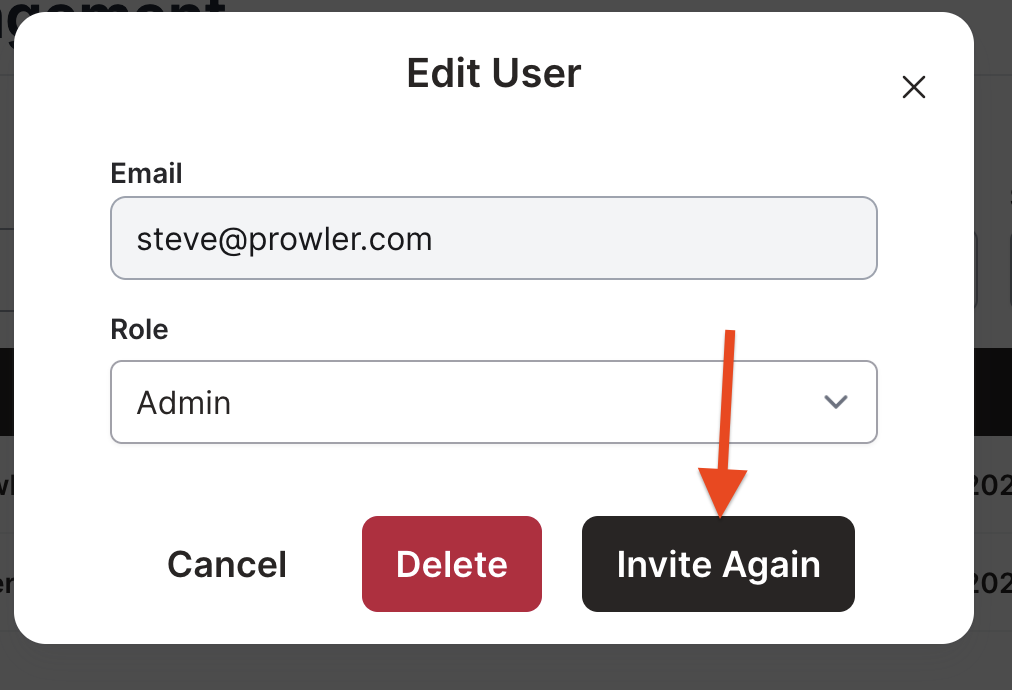
Send Invite again
If needed, you can resend an Expired invitation. Note: Resending an invitation will invalidate the previous invite.
To resend an invite:
-
Log into Prowler SaaS with your credentials.
-
Click on the Users item in the side menu.
-
Find the Expired invite and click the Edit link
-
Click the Invite Again button
-
A new email will automatically be sent.
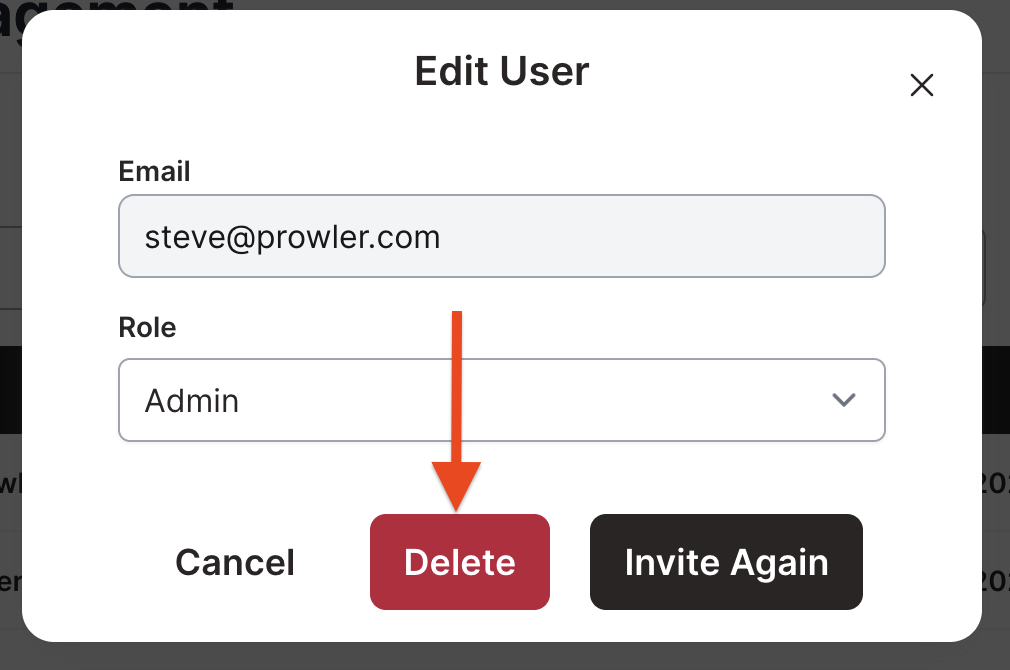
Cancel Invitation
To remove a Pending or Expired invitation, follow these steps:
-
Log into Prowler SaaS with your credentials.
-
Click on the Users item in the side menu.
-
Find invite and click the Edit link
-
In the Edit User screen, click the Delete button to cancel the invitation.
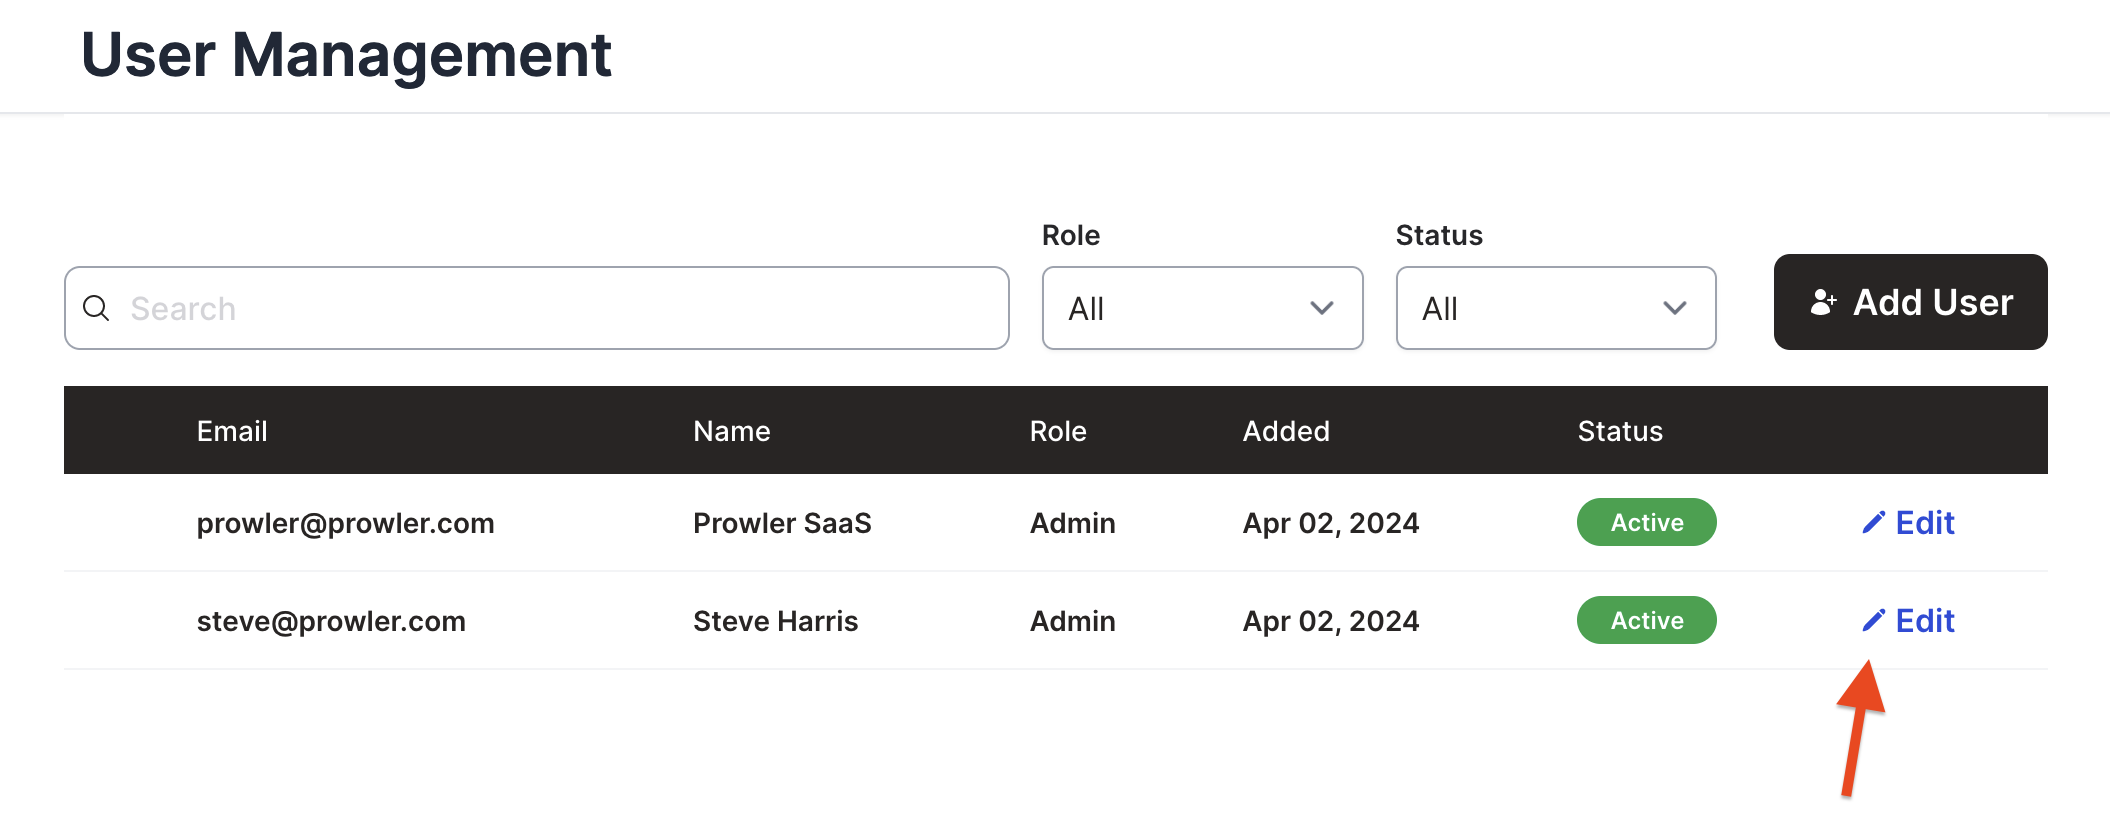
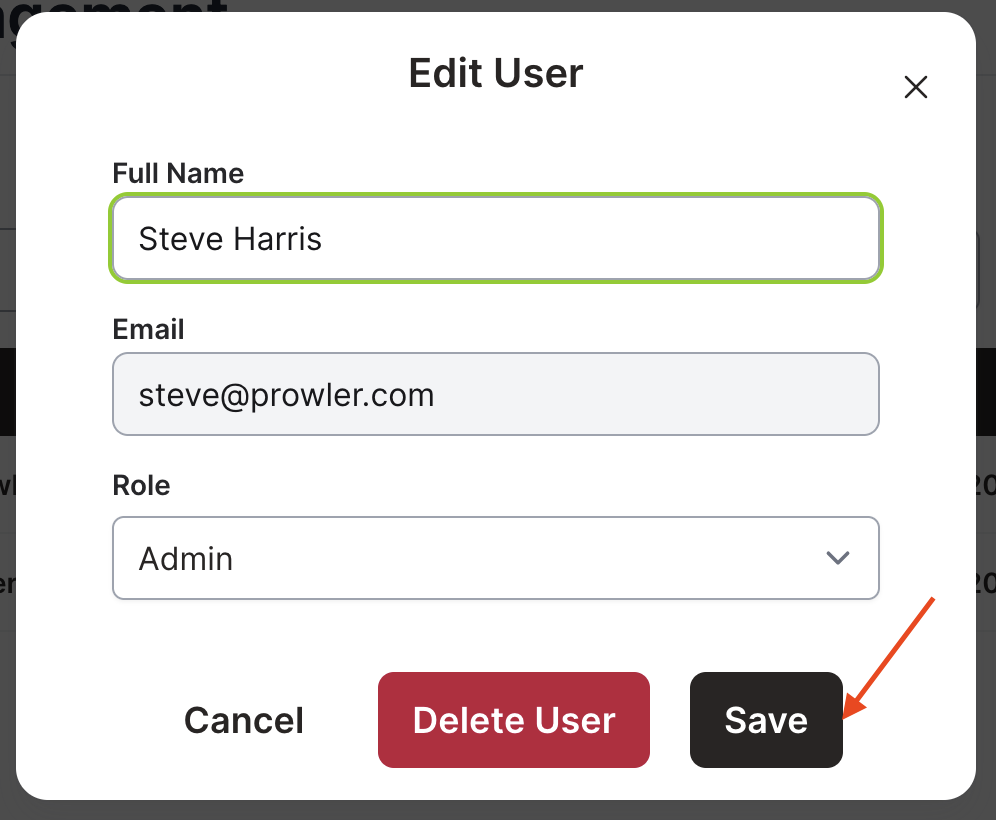
Edit a User
Follow these steps to edit a user:
-
Log into Prowler SaaS with your credentials.
-
Click on the Users item in the side menu.
-
Click the Edit link on the row for the user or pending invite you want to update.
-
Edit the name or select a new role from the dropdown and click Save.
Remove Users
-
Log in to Prowler SaaS with your credentials.
-
Click on the Users item in the side menu.
-
Click the Edit link on the row for the user or pending invite you want to update.
-
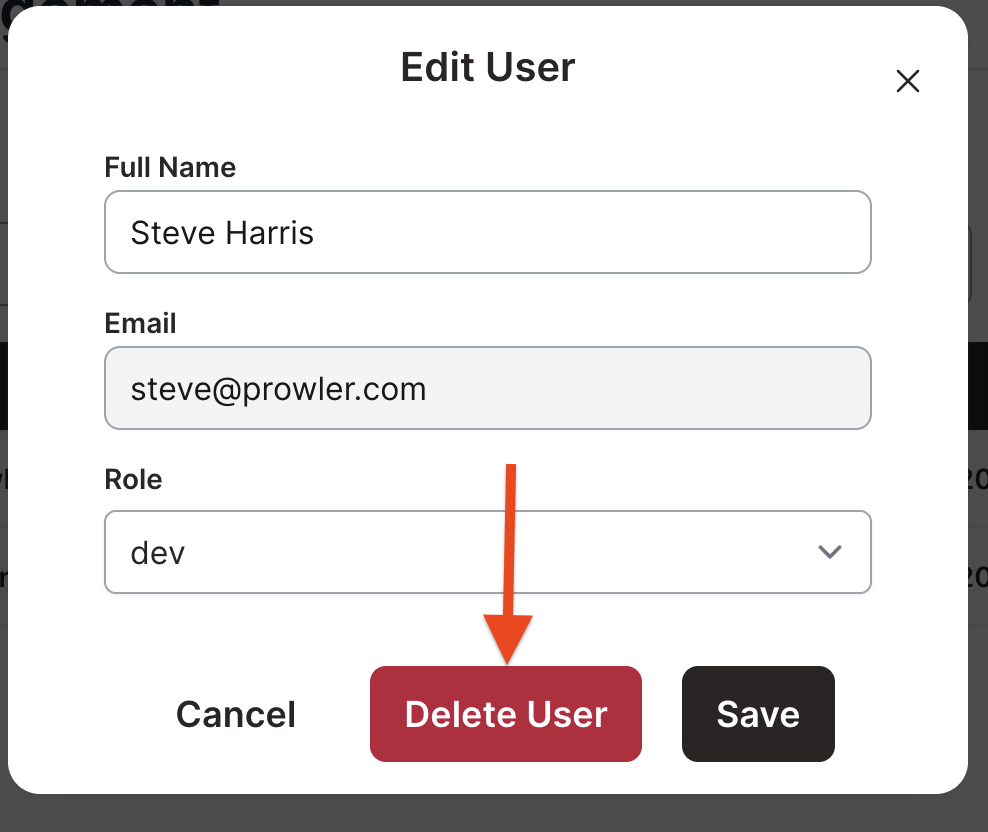
In the Edit User screen, click the Delete User button.
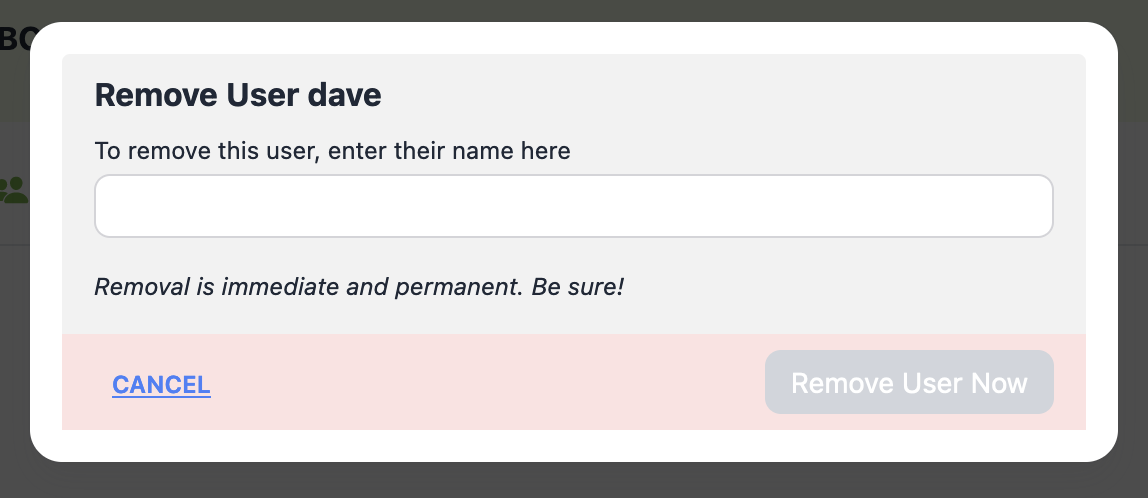
-
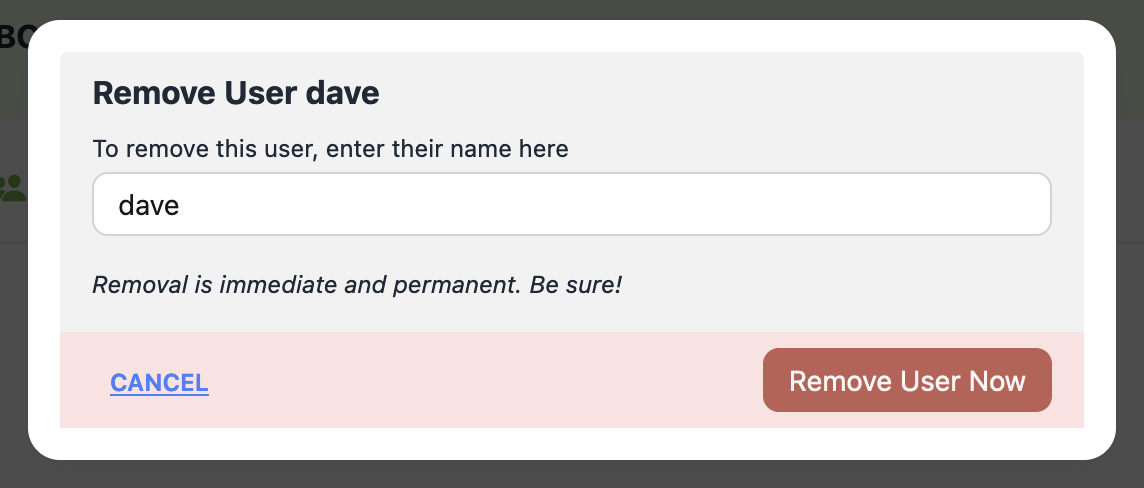
You will be prompted to confirm the deletion by entering the name of the user you want to delete.
-
Click on the Remove User Now button to apply your changes.
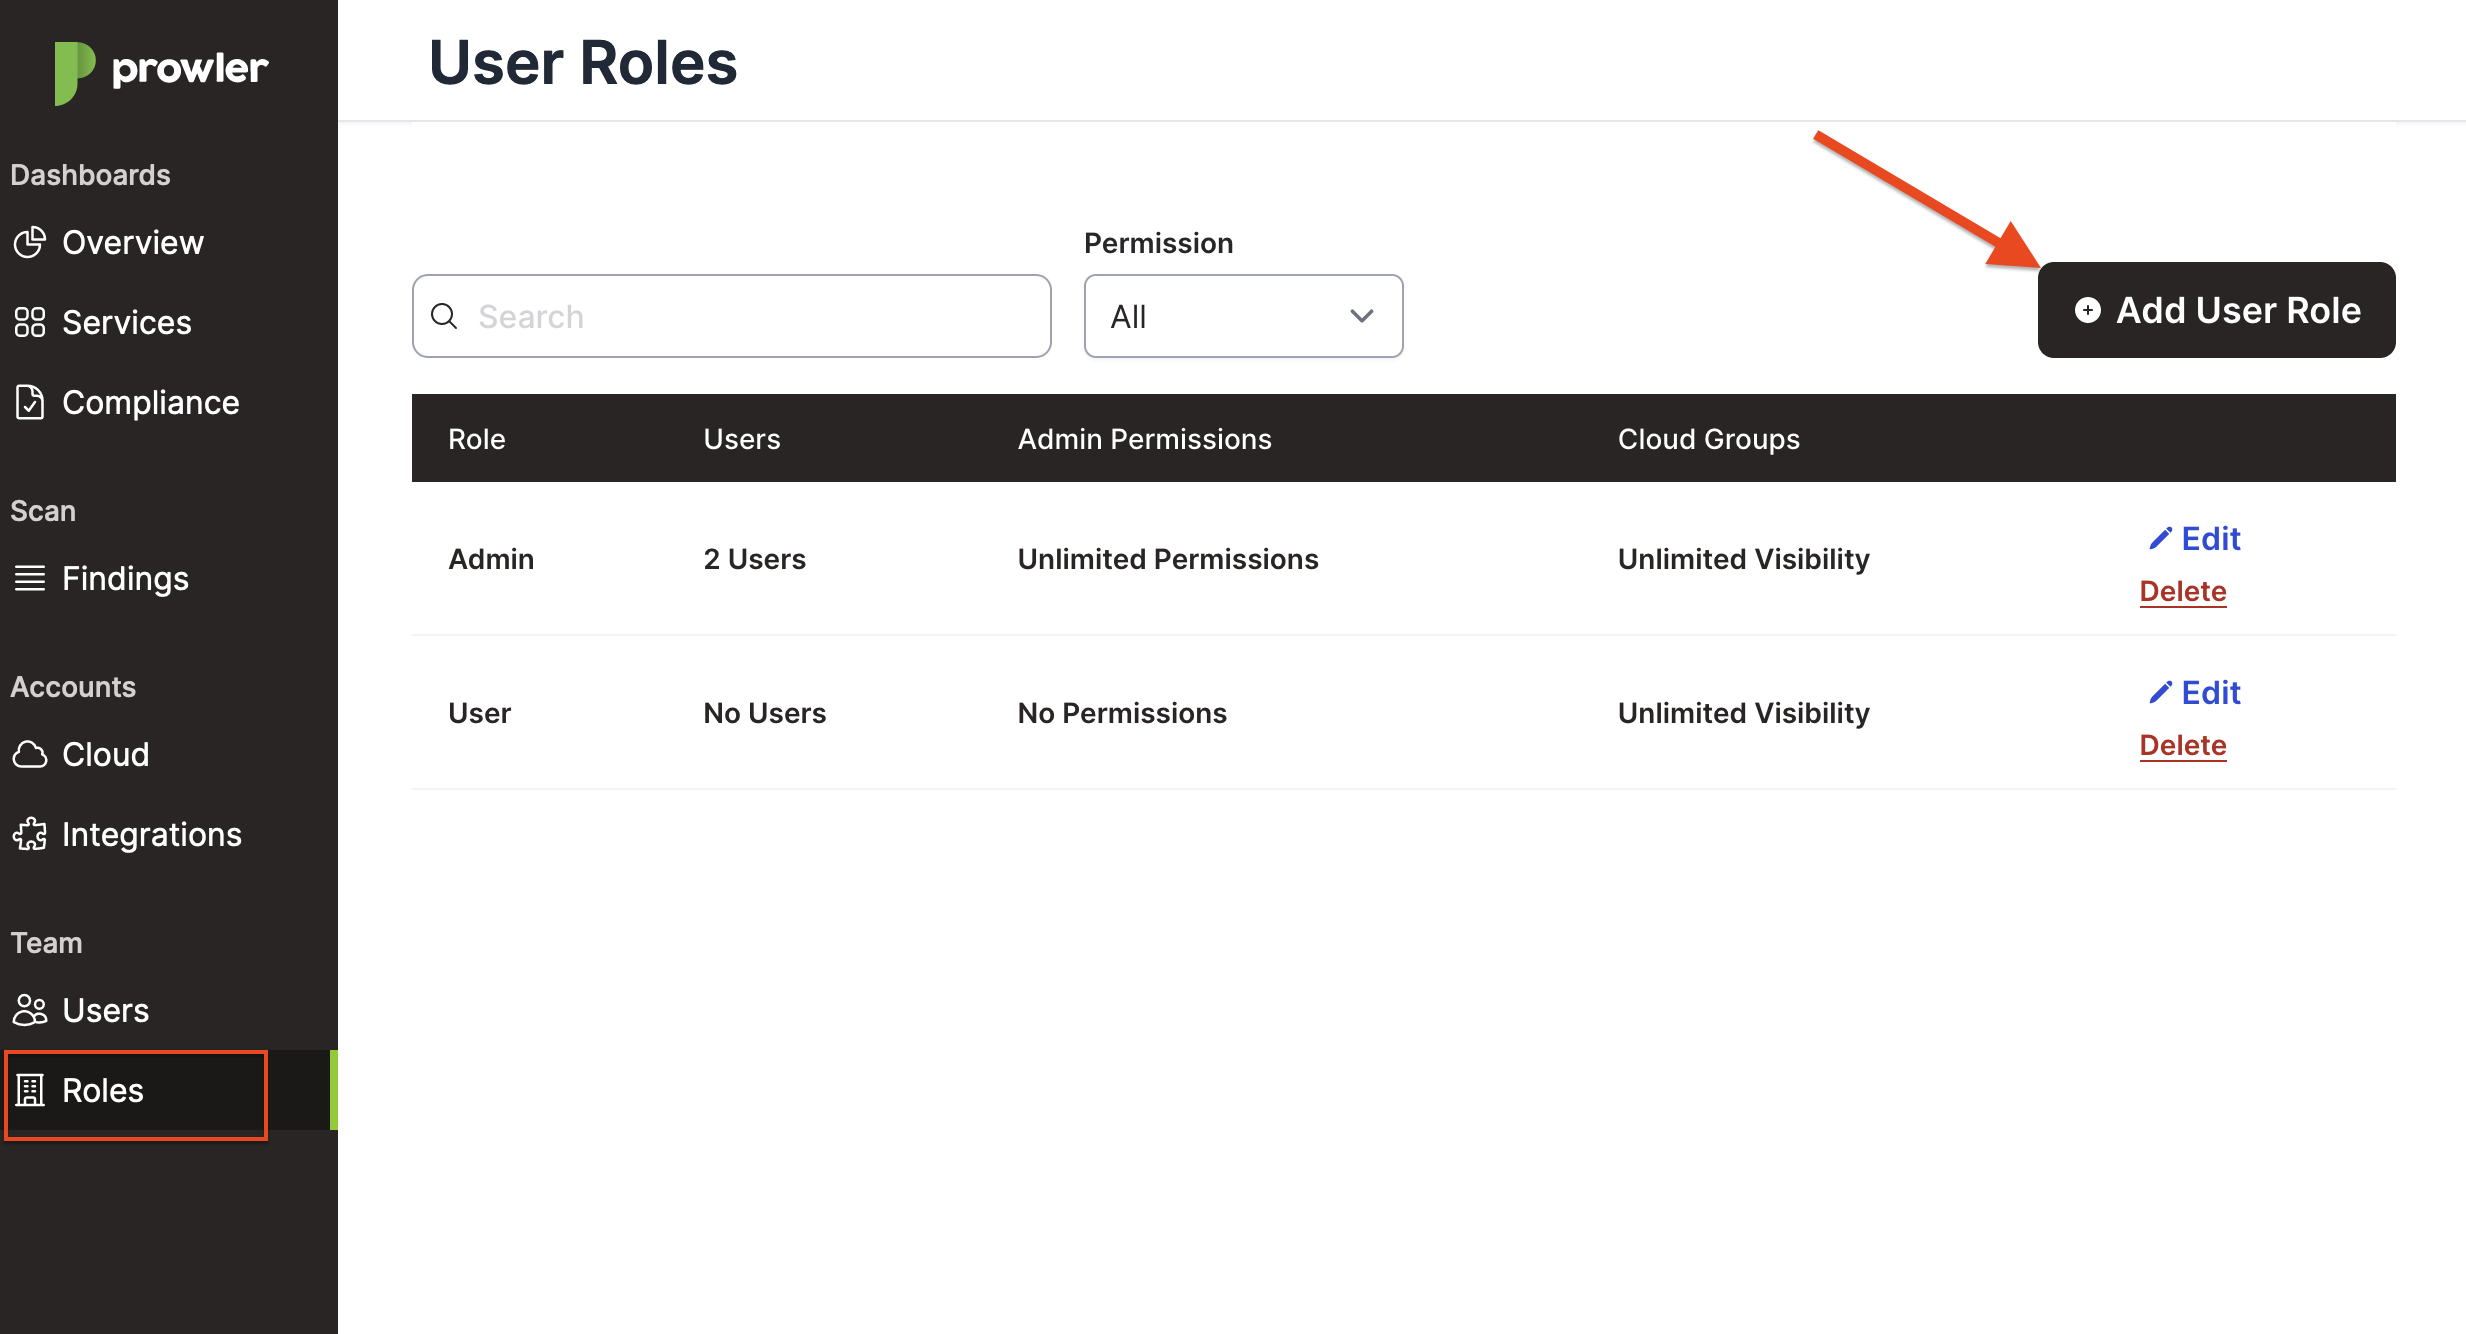
Roles
The Roles interface in Prowler SaaS is designed to facilitate the assignment of custom user privileges. This interface allows administrators to define roles with specific permissions for Prowler administrative tasks and Cloud Account visibility.
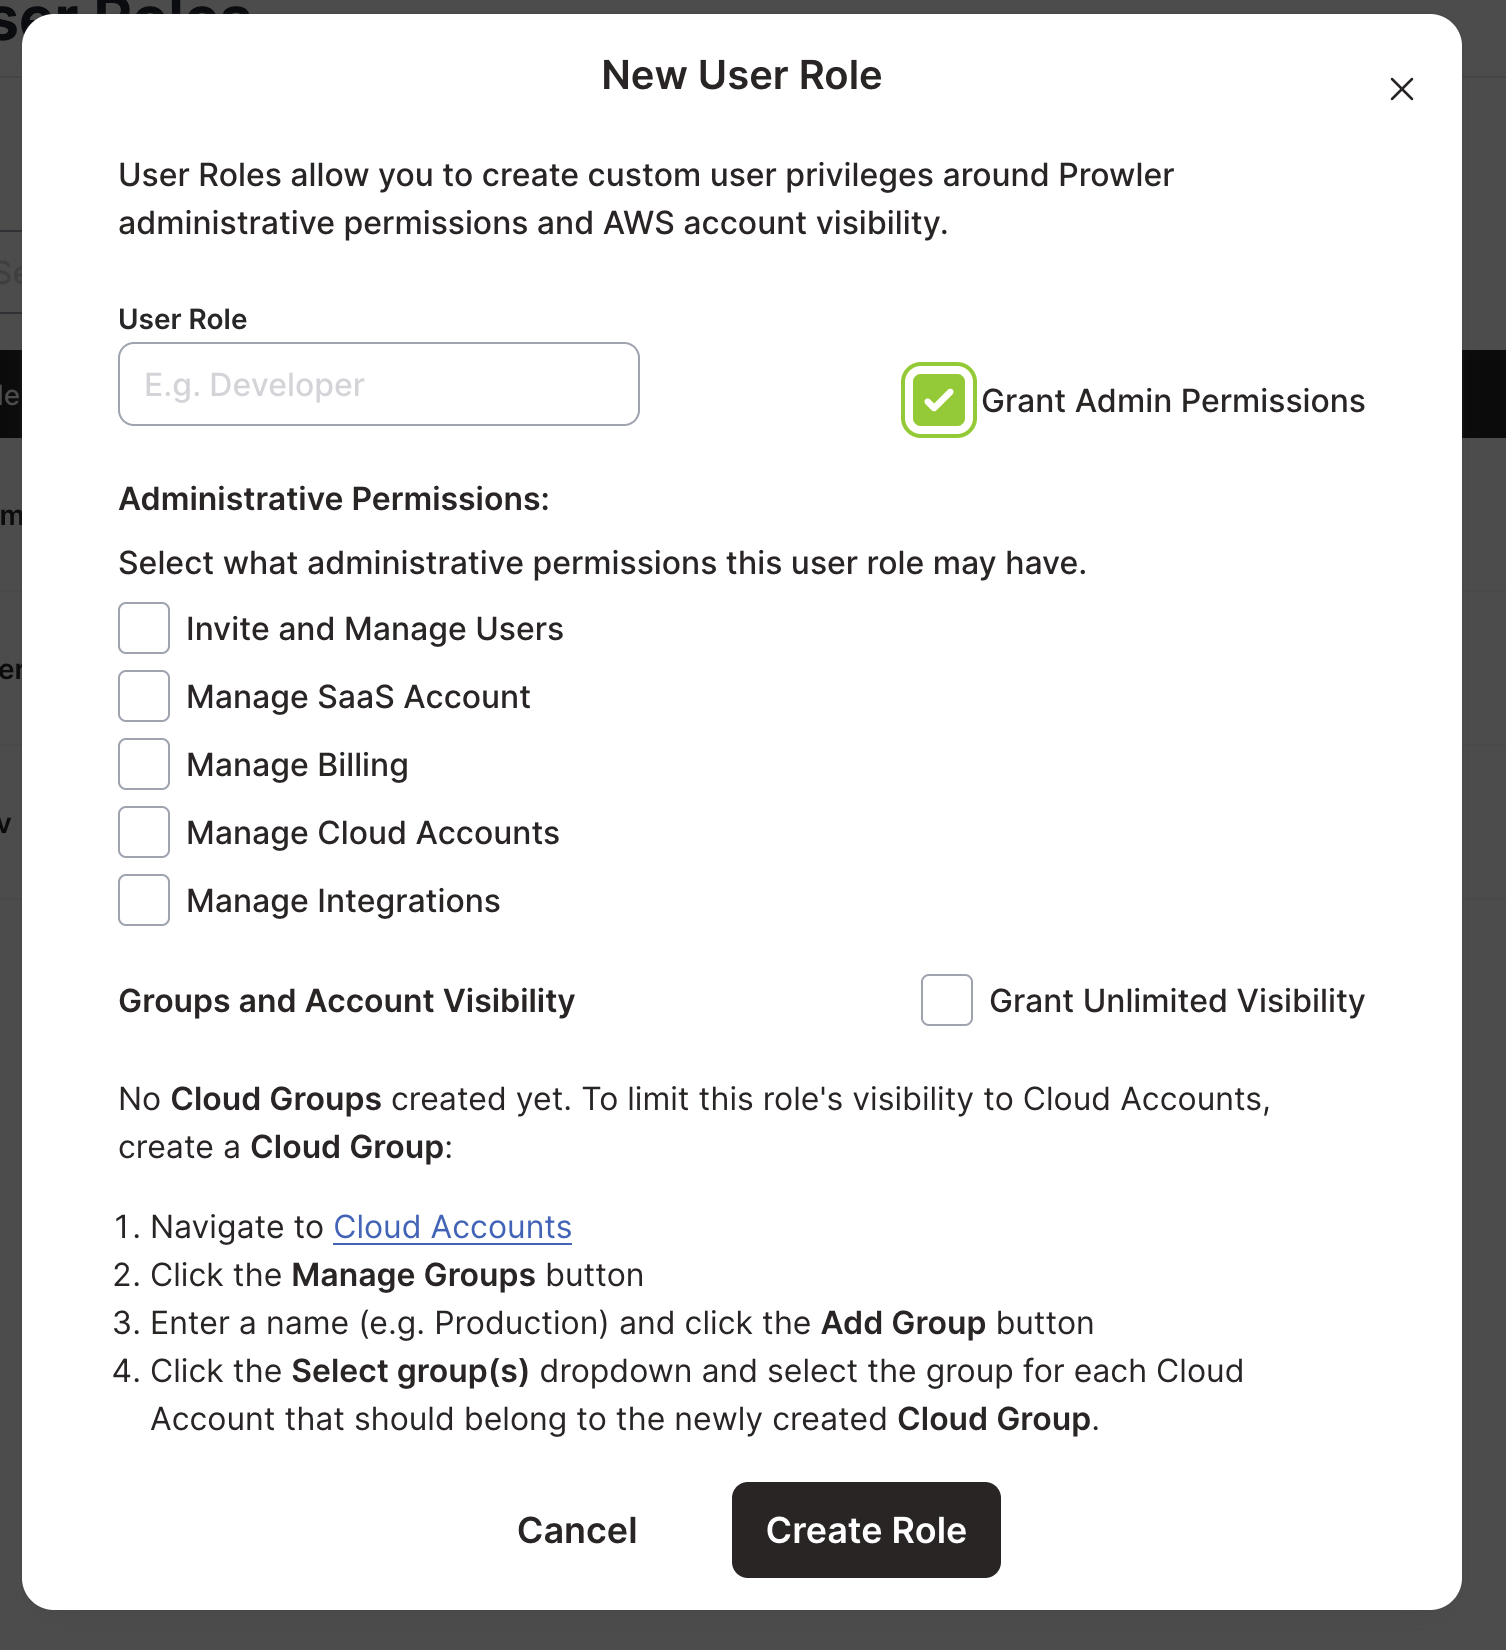
Creating a New User Role
- Log in to Prowler SaaS with your credentials.
- Click on the Roles item in the side menu.
-
Access the Add User Role dialog in the Prowler SaaS dashboard.
-
Input a descriptive name for the role in the User Role text field.
-
Select the appropriate Administrative Permissions and Groups and Account Visibility.
- Click the Create Role button to save the new user role.
Administrative Permissions
Assign administrative permissions by selecting from the following options:
- Invite and Manage Users: Allow the user to invite new users and manage user accounts.
- Manage SaaS Account: Permit the user to configure the Prowler SaaS account settings. Includes the ability to cancel the Prowler SaaS Account.
- Manage Billing: Enable the user to access and manage billing information.
- Manage Cloud Accounts: Grant the user authority to add or modify connected cloud accounts.
- Manage Integrations: Allow the user to set up and manage third-party integrations.
To grant administrative permissions, click the Grant Admin Permissions checkbox.
Groups and Account Visibility
When creating a new user role in Prowler SaaS, you can assign specific groups to define the Cloud Account visibility for the role. This ensures that users with the created role have access only to the cloud accounts that are relevant to their responsibilities.
By default, a new user role does not have visibility into any cloud groups.
Alternatively, to grant the role unlimited visibility across all cloud accounts, check the Grant Unlimited Visibility checkbox.
Steps to Assign Groups
- In the Groups and Account Visibility section, you will see a list of available cloud groups with checkboxes next to them.
- To assign a group to the user role, simply click the checkbox next to the group name. For example, if you want to assign the "dev" group, which has access to one cloud account, ensure that the checkbox next to "dev (1 Cloud Account)" is checked.
-
If you need to assign multiple groups, repeat the process for each group you wish to add.

Creating a New Cloud Group
If you don't have any groups defined, follow these steps to create one:
- Click on the Cloud item in the side menu.
- Select the Manage Groups button.
- Input a name for the new group (e.g., Production) and click Add Group.
- Use the Select group(s) dropdown to assign cloud accounts to the new group.
For more detail on managing Cloud Groups, see Manage AWS Accounts
Removing a role
Roles can only be deleted if there are no Users or Invitations associated with the Role.
- Log in to Prowler SaaS with your credentials.
- Click on the Roles item in the side menu.
- Click the Delete link for the role to be deleted.
- You will be prompted to confirm the deletion by entering the name of the Role you want to delete.
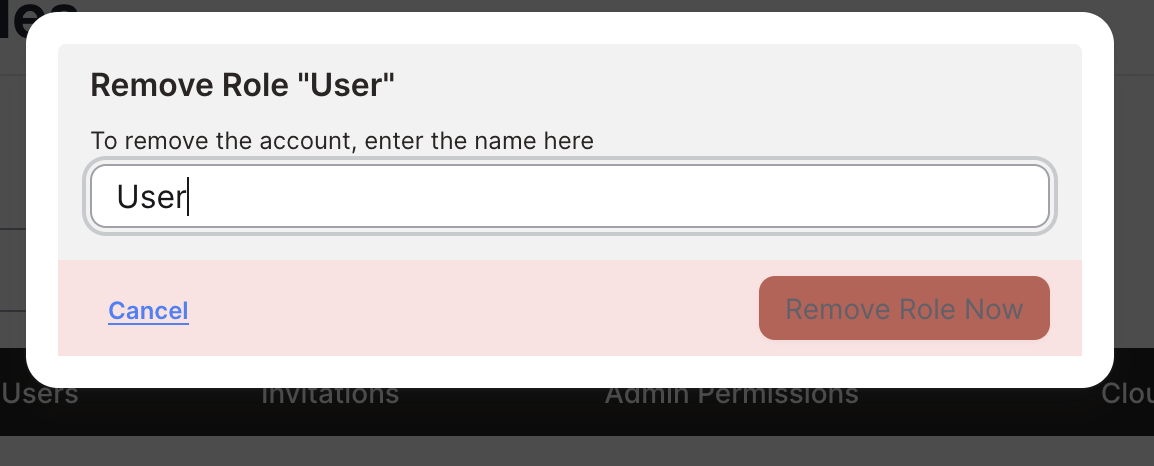
- Click on the Remove Role Now button to apply your changes.